As explained in previous blog posts, we began a 9-week modelling project to create a low poly model. With this low poly model, we would UV unwrap it, create a high poly version separate to the low poly, and eventually bake it down.
What is baking?
Baking is the process whereby you “bake” all the textures applied to the surface into an image that you can then apply as a texture. This is most useful when baking a high-poly surface texture onto a low-poly model. Which is what we will be doing.
Low Poly Model
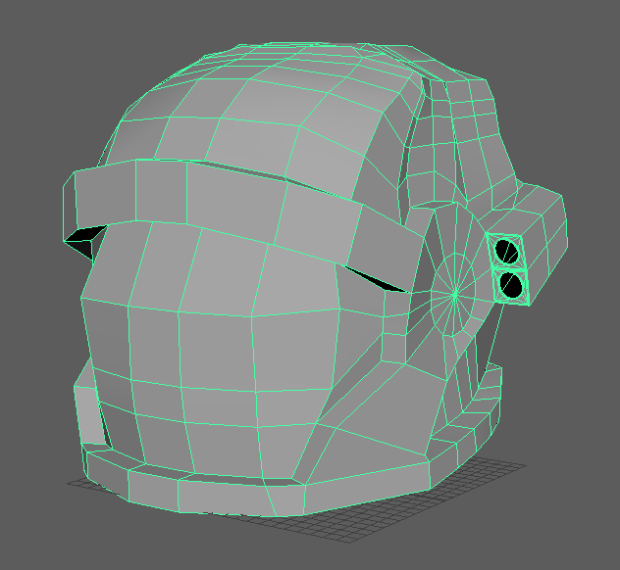
This is my low poly model so far. Hopefully it should be simple to tell that this is an astronaut helmet, if not now, it will later with textures and a higher poly count.
Finishing Touches to Low Poly
To finish the low poly, I will have to make sure there is no geometry errors, like no manifold, or overlapping faces/vertices. As well as this, I could add in some extra edge loops to make the geometry.
UV Unwrapped
I have succesfully UV unwrapped my model. It took around 2-3 hours, doing it carefully. After unwrapping the model, you have to add a checkerboard texture to correctly scale each UV properly. Here is what it looks like:

As you can probably see, some of the edges have a thicker outline. This is because I have creased them and made them into hard edges. Applying creases to edges modifies the mesh, so you can create shapes that transition between hard and smooth. Without increasing the base mesh’ resolution.
